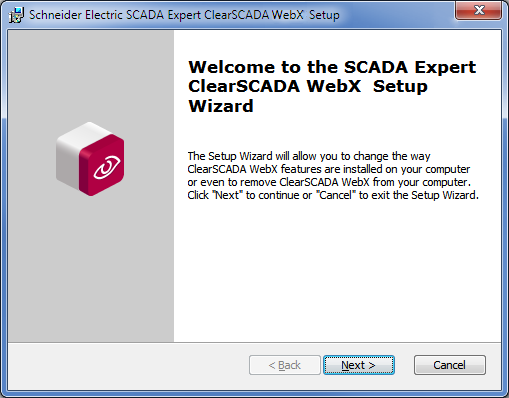
By default the Web Server option is included in the installation of ClearSCADA and when you select the Finish button on the Finish 'page' you proceed to the WebX Setup Wizard.
NOTE: If you have disabled the Web Server option using the Custom Setup, the following installation procedure does not appear.
- On the Web Setup Wizard 'page' select Next, the installation process begins.
- To install WebX, you need to review the license agreement and agree to the terms stated.
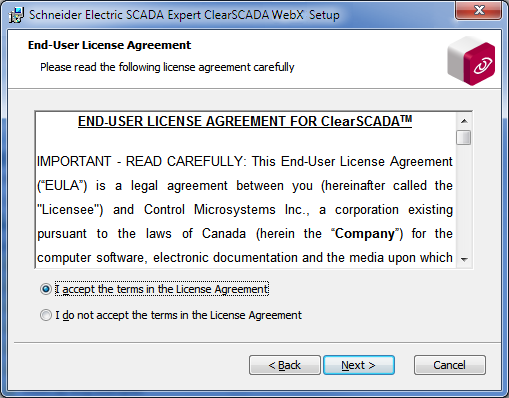
- Please read the End-User License Agreement and select the I acknowledge the terms in the License Agreement option.
- Select Next to proceed to the Configure the Web Site 'page'.
NOTE: If you do not agree to the stated terms, select I do not acknowledge the terms in the License Agreement. You will be unable to install the WebX features and the installation process will end.

The Configure the Web Site 'page' prompts you to configure the SSL settings for the Web and Mobile website.
HTTP Port
Enter the port number that you want to associate with the HTTP service hosting the Web and Mobile application. You can enter any port number excluding port 80. The default port number is 85.
SSL Port
Enter the port number that you want to associate with the HTTPS service hosting the Web and Mobile application. You can enter any port number excluding port 80. The default port number is 453.
SSL Certificate
This combo-box allows you to select the certificate that you want to use for the HTTPS binding on the port you entered. You need to register certificates in the IIS Manager prior to this installation in order for them to be available in the combo-box. By default a self-signed certificate, WebXCert, is installed on the system.
NOTE: If you want to install a Certificate later you need to use the IIS Manager. Refer to your System Administrator for more information about adding Certificates and using IIS Manager.
- When you have completed the port settings select the Next button.
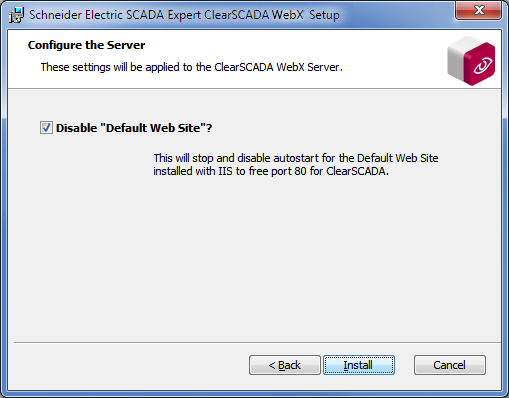
The Configure the Server 'page' allows you to change the default web site:
Disable "Default Web Site"?
Select the check box to disable the default website installed with IIS to free port 80 for ClearSCADA.
Clear the check box if you require the default website installed with IIS to appear.
- When you have completed the Configure the Server 'page' select the Install button.
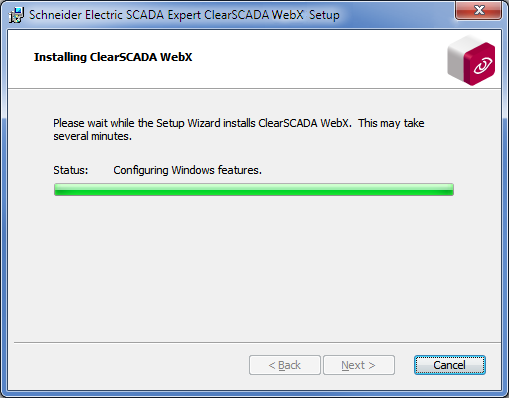
- When you have selected Install, the installation process begins.
- When the installation is complete, the Finish ‘page’ is displayed.

- Select Finish to complete the installation procedure.
Further Information
Refer to WebX Server Settings in the ClearSCADA Guide to Server Administration for more details on the configuration of Certificates for WebX.
Having installed ClearSCADA, you will need to set up connections, licenses, and so on.
For information on configuring a ClearSCADA server, see the ClearSCADA Guide to Server Administration.