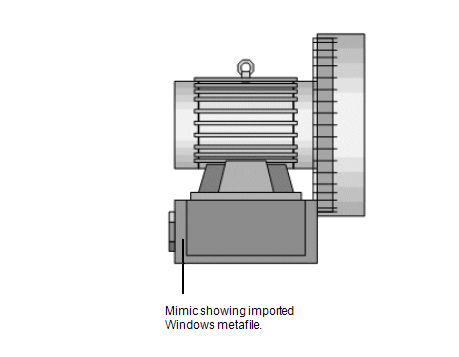
You can import Windows metafiles into your Mimics. This is useful as it allows you to use graphics that were created in other packages and saved as .wmf to be used on Mimics.
When you import a Windows metafile, the various shapes of the graphic are converted into a group of Mimic objects that you can edit as required. You can also break the group so that the objects are individual objects that you can edit (see Editing Objects on a Mimic).
To import a Windows metafile:
- Display the Mimic that is to contain the Windows metafile. You have to display the Mimic in Design mode (see Displaying a Mimic).
- Select Metafile in the Illustrations command group on the Graphics Tab.
A browse window is displayed. - Use the browse window to locate the Windows Metafile, select the file, then select the OK button.
- On the Mimic, position the cursor, keep the left-hand mouse button pressed down, then drag the cursor over the area that is to contain the Windows metafile. This 'draws' a box. The Windows metafile will be sized and proportioned to fill the box that you draw.
- Release the left-hand mouse button to insert the Windows metafile.
NOTE: When you insert the Windows metafile, a message may be displayed. The message provides details about any parts of the Windows metafile graphic that are not supported by ViewX.
You can edit the imported Windows metafile graphics as required. By default, the individual graphics are grouped. You can edit the group (see Editing a Group of Mimic Objects) or can break the group and then edit the objects individually.