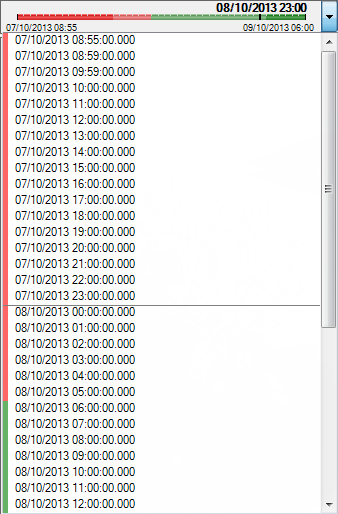
The Timeline appears in the Using the Aquis Toolbar. When you display the Aquis Thin Client, by default the Timeline is positioned at the start of the first time segment of the data from the Aquis application server.

The start and end time define the range of the timeline
NOTE: You can make the Aquis Thin Client start at a specific time using a Add an Aquis Server Object to a Mimic that includes either "Time" or "Offset" parameter.
A black bar within the timeline indicates the currently selected time segment and corresponding data that is displayed in the Main view area. The date and time of the selected time segment are displayed above the timeline.
Data and time of selected segment

Black bar
To select a different time segment, place the cursor on the segment you require and press the left-hand mouse button.
Or, use the Time step buttons to move the time segment backwards or forwards.

Alternatively, use the Timeline combo box to display the list of available time segments and select the one you require to be displayed.

You can also use the Lock on time button, if this button is set then when the display is refreshed (via the refresh button or a refresh timer) it will check the client's system time and use that to automatically select the nearest time step to it within the time line (see Using the Aquis Toolbar).