Associated with: CFX Exports
Use the Export to CFX pick action to export flow measurement data from ClearSCADA in Flow-Cal’s Common File Exchange (CFX) format. The pick action enables flow data that ClearSCADA has retrieved from any SCADAPack Modbus Flow Run(s) on the system to be exported to a suitable third-party application for data analysis.
The data that is exported includes the Flow Run’s configuration, current readings, and (if available for the time period specified) alarm log, event log, and hourly history data. If any of the latter data does not exist for the date range requested for the export, those particular section(s) in the resulting CFX file(s) will include a message to that effect (for example, ‘No Alarms’).
The Export to CFX pick action is only available if your User Account is allocated the Control security permission for the CFX Export. In addition, your User Account has to be allocated the Read and Browse security permissions for the Flow Run item(s) for which you want to export data in Flow-Cal’s CFX format.
NOTE: If the data is being exported to removable media, please check that the media is at the required location and is available for use. For example, if the data is to be stored on a CD-R, check that a suitable CD-R is in the CD-RW driver of the server before the flow measurement data is exported.
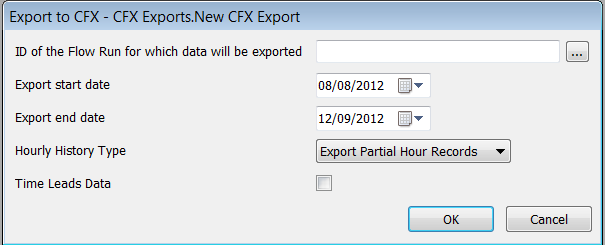
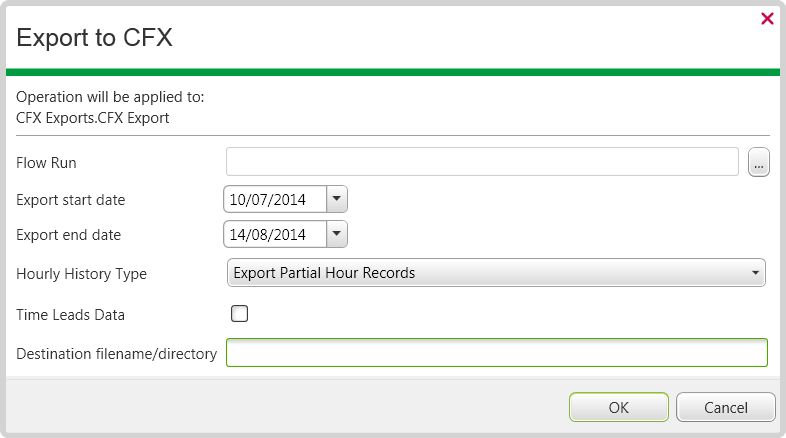
Select the Export to CFX pick action to display the Export to CFX window. Use the fields in the window to specify the Flow Run and period for which data is to be exported:

- Flow Run—Specify the required Flow Run. Use the adjacent browse button to display a Reference browse window. Use the window to navigate the list of SCADAPack Modbus Flow Run items that exist on the system. Select the required Flow Run from the window.
- Export start date—Use to specify the date of the earliest Flow Run data that is to be exported in Flow-Cal’s CFX format. For information on specifying a different date to the default, see Specifying the Required Entry in a Date and Time Field in the ClearSCADA Guide to Core Configuration.
- Export end date—Use to specify the date of the most recent Flow Run data that is to be exported.
- Hourly History Type—Use to specify how the driver should export history records. Choose from:
- Export Partial Hour Records—Export each individual history record.
- Export One Record Per Hour—Merge all of the history records generated in a particular hour and then export them as a single record for the hour.
- Time Leads Data—If you chose the Export One Record Per Hour option for Hourly History Type, you can select this check box to specify that time leads data. Clear the check box (the default setting) if you want to specify that time trails data.
Example:
There are individual history records for 10.00, 10.30, 10.45 and 11.00.
If time leads data, the single hourly record for 10.00 would contain the individual history records for 10.30, 10.45 and 11.00. The single hourly record for 09.00 would contain the 10.00 history record.
If time trails data, the single hourly record for 10.00 would contain the 10.00 history record. The single hourly record for 11.00 would contain the 10.30, 10.45 and 11.00 history records.
If the Use Default Path/Name when Exporting check box is clear on the CFX Export’s configuration Form (see Specify the Default Path and Output File Naming Convention), ClearSCADA displays an additional field in the Export to CFX window:

- Destination filename/directory—Enter the required directory path and file name. A default name and directory will be displayed in this field if a Default Destination Directory is specified on the CFX Export’s configuration Form—overtype the entry with the required directory or file name, as required.
Select the OK button to trigger the export. ClearSCADA will export the data in the format that is specified on the CFX Export’s configuration Form. You can ascertain the progress of an export by monitoring its Status For more information, see CFX Specific Status Display Attributes.
Should an export be unsuccessful, ClearSCADA will raise an alarm. The alarm message will indicate the reason for the export failure. The alarm will clear once a successful export is performed. For more information, see CFX Specific Alarm and Event Categories.
NOTE: If using this pick action with the Automation Interface, you need to specify the method name Export. (Refer to the Database Schema for argument naming conventions used with the Automation Interface.)
Example:
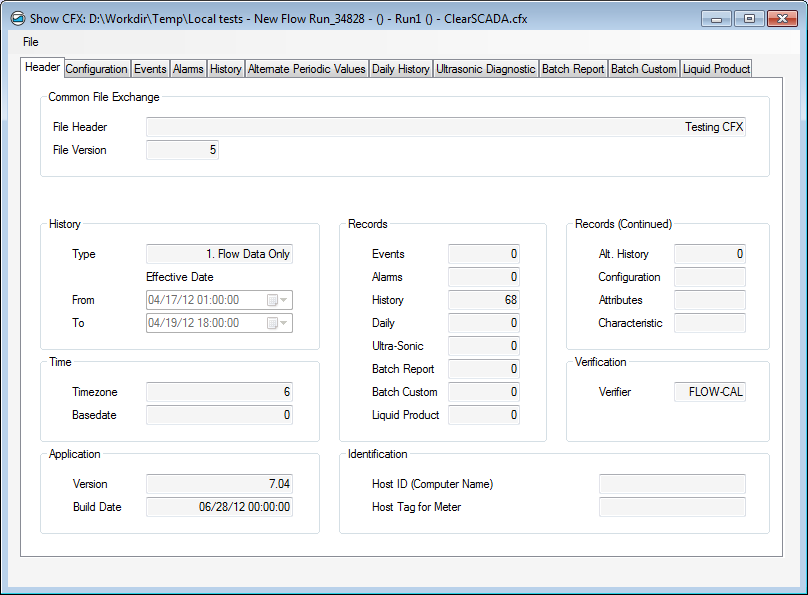
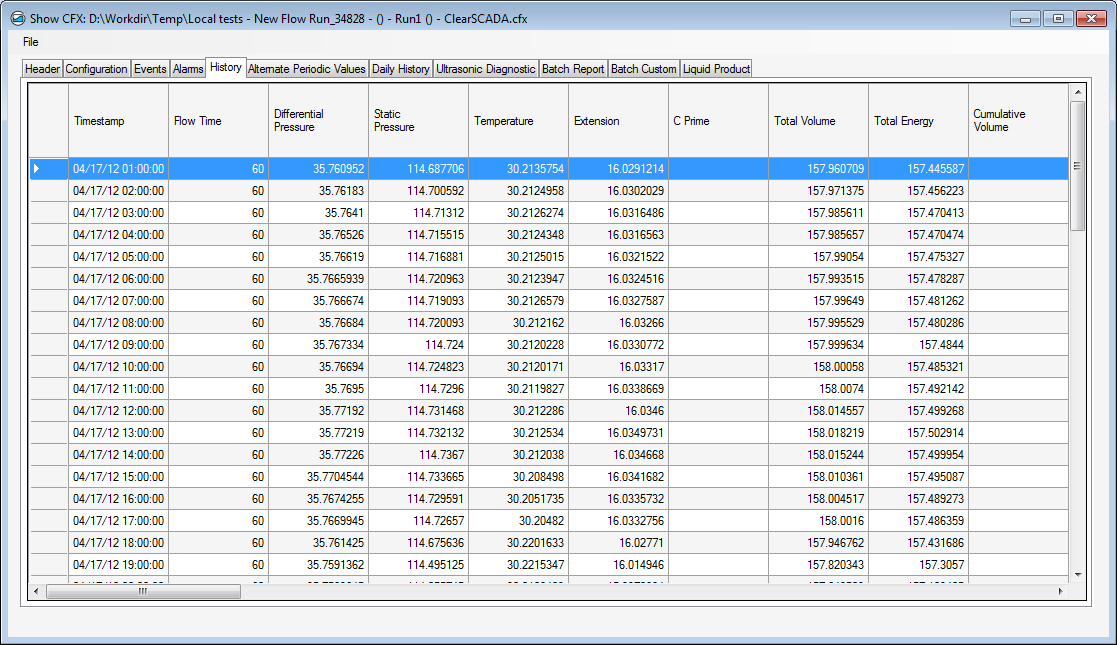
A typical CFX Export:


(If there is no Historic data, Alarms, or Events for the specified period of time, the export to CFX will be successful, but the tabs for which no data is available will display entries such as ‘No Alarms’ or ‘No Events’.)