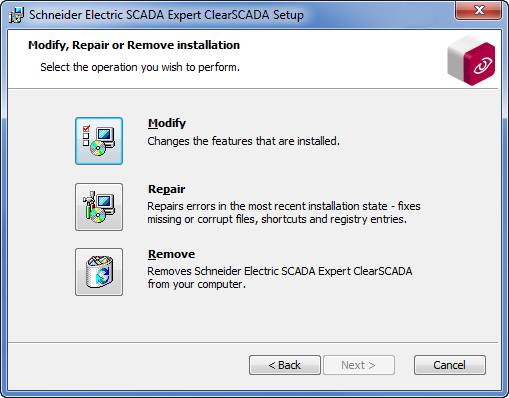
You can make changes to your ClearSCADA installation by using the ClearSCADA installer. For example, you can install additional drivers (in accordance with your license agreement) or uninstall ClearSCADA components that you do not require.
To make changes to your ClearSCADA installation:
- Run the ClearSCADA installer. To do this, you can either:
- Insert the ClearSCADA CD and select the Install ClearSCADA option. The ClearSCADA Installation wizard runs.
Or:
- Use the Uninstall or Change a Program feature in Windows Control Panel. To access this feature in Windows 7, select Start>Control Panel>Progams and Features. For information on the change/uninstall feature in other versions of Windows, please refer to your Windows documentation.
- Select ClearSCADA in the list. You will see that the menu options change and now include Change. Alternatively, you can right-click on ClearSCADA in the list to display a context-sensitive menu that contains a Change option.
- Select Change to run the ClearSCADA installation wizard.
- Select Next.
- Select Modify.

- Use the Custom Setup ‘page’ to specify which components are to be installed or uninstalled. For more information on using the Custom Setup ‘page’ see Custom Setup.
- Select Next.
- Select Install. ClearSCADA adds or removes the relevant components, depending on the selections you made on the Custom Setup ‘page’.
Further Information