ViewX uses Outstation Sets to represent a Group of outstations that share communication channels. As with channels, each Driver has its own Outstation Sets, with different types of Outstation Set for each type of channel. For example, the Advanced Modbus Driver has outstation sets for direct, shared, switched, and PSTN channel types.
As your SCADAPack Modbus controller is connected via a single direct channel, you need to configure an Advanced Modbus Direct Outstation Set:
- Display the Database Bar (see Display an Explorer Bar in the ClearSCADA Guide to ViewX and WebX Clients).
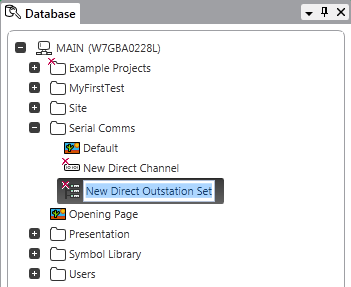
- In the Database Bar, right click on the 'Serial Comms' Group and select Create New>Modbus - Advanced>Direct Outstation Set from the context sensitive menu. This adds a new Advanced Modbus Direct Outstation Set item to the 'Serial Comms' Group.

- Press the Enter key to use the default name for the Direct Outstation Set:
New Direct Outstation Set
- Double-click on the Direct Outstation Set to display its configuration Form.
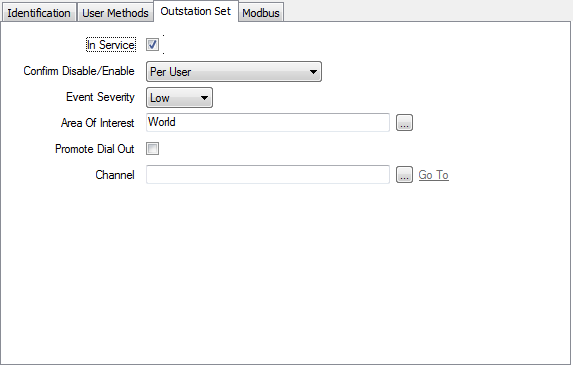
- Select the Outstation Set tab.

- Select the In Service check box to activate the Outstation Set.
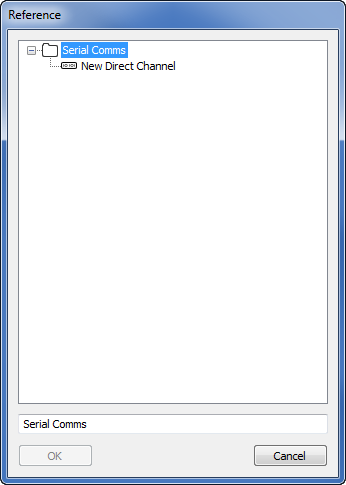
- In the Channel field, use the browse button to locate the 'New Direct Channel' item that you created in step 1.

- Select the 'New Direct Channel' then select the OK button. This associates the Direct Outstation Set with the Direct Channel.
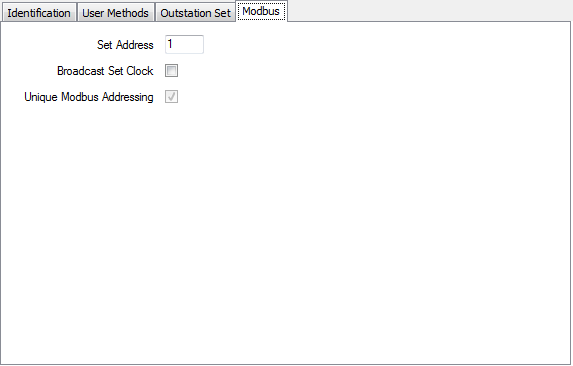
- Select the Modbus tab.

- Configure the Set Address so that it is 1.
NOTE: This address is used internally by ClearSCADA to identify the outstation set with which incoming communications are associated. It does not correspond to any settings in the SCADAPack Modbus controller or to the Outstation Address.
- Save the configuration changes you have made and close the 'New Direct Outstation Set' configuration Form.
You can now proceed to Configure a SCADAPack Modbus Direct Outstation.
Further Information
SCADAPack Modbus: Please refer to the SCADAPack Modbus Driver Guide in the ClearSCADA online help.