By default, the Alarms List you have added is unfiltered - it shows the alarms on your system, irrespective of their severity, the items with which they are associated, the time at which they were raised etc. By using ClearSCADA’s comprehensive filter system, you can restrict the Alarms List so that it only displays alarms that have certain properties.
To learn how the Filter feature works, you are going to filter the Alarms List on your Mimic to show only those alarms that relate to items in the 'Site' Group:
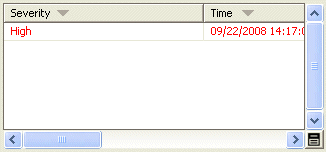
- With the 'Default' Mimic of the 'Site' Group displayed in Run mode, select the list icon at the bottom right of the Alarms List to display a context sensitive menu.

- Select the Filter option to display the Filter Window.

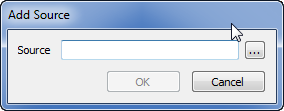
- In the Sources section, select the Add button to display the Add Source window.

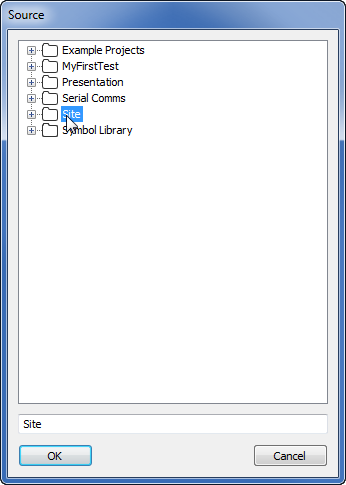
- Use the browse button feature of the Source field to locate and select the 'Site' Group and then the OK button.

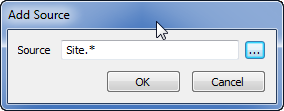
- The Add Source dialog box’s Source field will show:
Site.*This means that the Alarms List will only show alarms for items that are in the 'Site' Group.

- Select the OK button to confirm.
- Select the OK button on the Filter window to confirm your filter choice and close the Filter window.
Now the Alarms List only shows alarms directly related to the 'Site' Group.

Further Information
Alarms List: see Alarms Lists in the ClearSCADA Guide to Alarms.
Filtering an Alarms List: see Use the Filter Window to Filter Alarm Entries in the ClearSCADA Guide to Alarms.