Mimics are displays that allow you to present system information in a graphical format. For example, you can create Mimics that contain a visual representation of the plant with dynamic, animated displays showing values from the database. You can configure a Mimic to represent virtually anything, and can easily add dynamic values to it by using ClearSCADA’s drag and drop feature (there are other ways of adding dynamic values and attributes to Mimics, but for the moment we will focus on drag and drop).
As you have created an internal analog point with historic data, we are going to teach you how to use the drag and drop feature to display the point’s value graphically and as a number on a Mimic:
- Display the Database Bar (see Display an Explorer Bar in the ClearSCADA Guide to ViewX and WebX Clients).
- In the Database Bar, double-click on the 'MyTestPlant' Mimic to open the Mimic in Design Mode. Alternatively, you can right-click on the Mimic and select Edit from its context sensitive menu.
When a Mimic is in Design mode, you can add items to it, configure animations, write scripts, and so on. However, you may not be able to see operational features such as the values of animated items. To view operational elements, you will need to switch the Mimic to Run mode—we will explain how to do this later in the tutorial.
- With the 'MyTestPlant' Mimic still on display, browse to the 'InternalWaterLevel' point in the Database Bar.
- Left-click on the 'InternalWaterLevel' point and keep the left-hand mouse button pressed down.
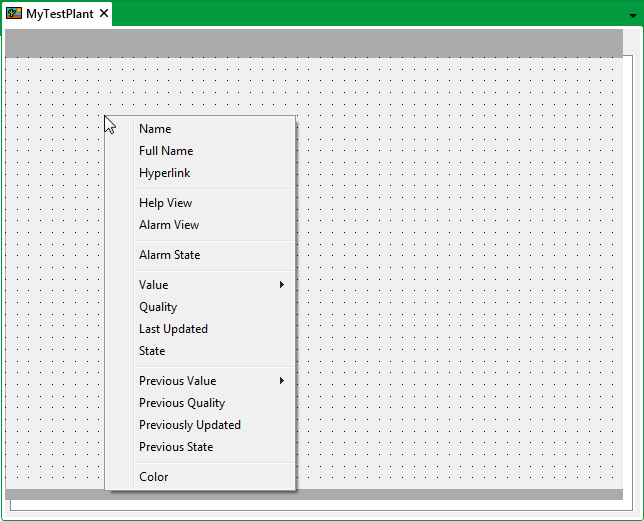
- Drag the cursor from the Database Bar onto the 'MyTestPlant' Mimic, and then release the mouse button to display a context sensitive menu.

- Select Value>Formatted Value from the menu.
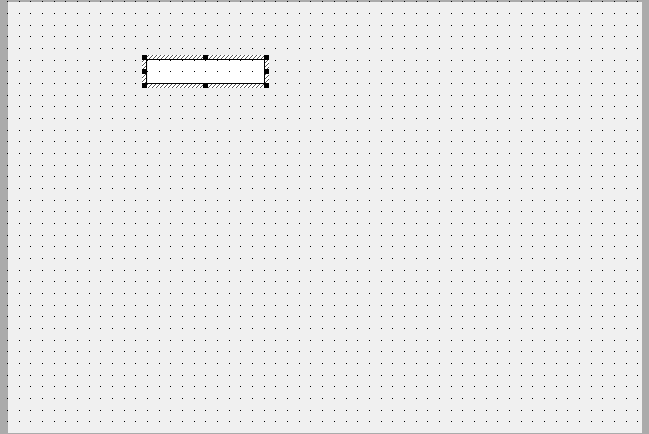
An animated text box is added to the Mimic. It will appear as an empty white box, but it is actually animated to show the formatted value of the point.

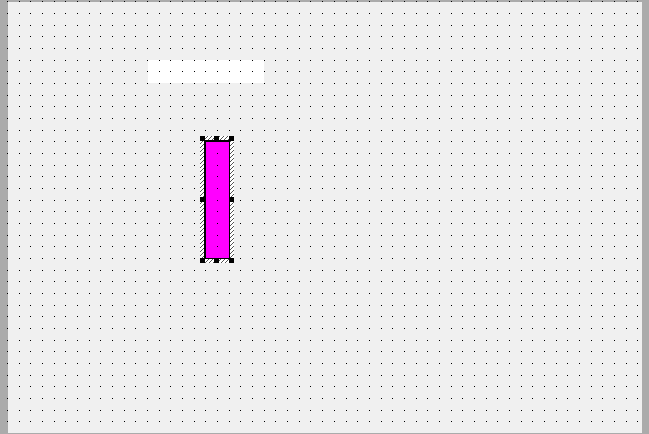
- Repeat steps 3 to 5 inclusive, only this time select Value>Vertical Bar>Up from the context sensitive menu. This will add an animated bar to the Mimic. The value of the internal analog point will affect the size of the bar.

You’ve now added an animated text box and an animated size bar to your Mimic. The appearance of both animated objects will change according to the value of the internal analog point, but you won’t be able to see the changes until you switch the Mimic to Run mode. So let’s do that next—proceed to Put the Mimic into Run Mode.
Further Information
Animations: see Animations in the ClearSCADA Guide to Mimics.