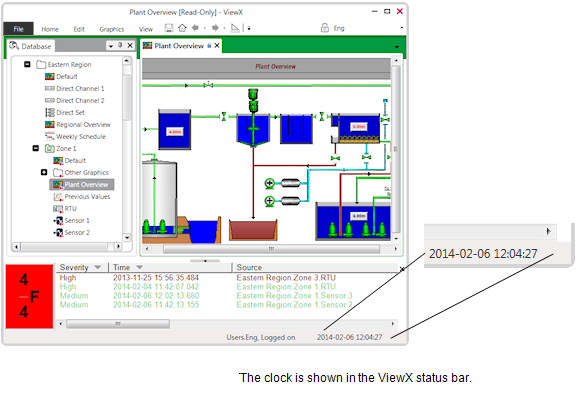
You can use the Options window to add a clock to the status bar on a ViewX client. The clock can display times in UTC or local time and it takes the time from the Windows operating system (with any formatting applied before it added to the status bar).
The ViewX status bar clock is particularly useful on ViewX clients that are set to display in Full Screen mode, where the Windows taskbar clock cannot be seen.
To add a clock to the status bar on a ViewX client:
- Log on to the client PC via a user account that has the Configure Options permission (see Define the ViewX Configuration Settings for a User in the ClearSCADA Guide to Security).
- Display the Options Window
- In the Miscellaneous section, enter the format for the time setting in the Clock Format field. The format has to comply with the ClearSCADA time format (see Using OPC Time Formats in the ClearSCADA Guide to Core Configuration). If you leave the field empty, the clock will not be displayed.
- Select the UTC check box to set the clock to display the time in Coordinated Universal Time (UTC) or clear it to display local time.
- Select the OK button to apply the changes.

ATTENTION: If the Clock Format field contains invalid or unsupported syntax, ClearSCADA will evaluate the Clock Format as far as the first invalid part of the syntax, and ignore any syntax thereafter. As such, the clock in the ViewX status bar will contain only the value that derives from the evaluated part of the syntax. Be aware that product releases from ClearSCADA 2014 R1 inclusive do not support the use of legacy date and time syntax for the status bar clock - see Date and Time Syntax in the ClearSCADA Guide to Core Configuration.
Further Information
Time Zone Settings: see Time Zone Support in ClearSCADA in the ClearSCADA Guide to Core Configuration.