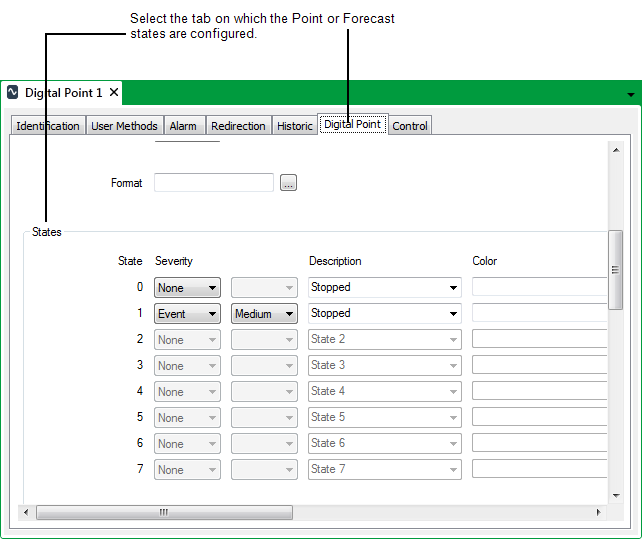
To associate a Custom Color with a Point or Forecast state:
- Display the Form for the Point or Forecast (see Display a Form).
- Select the tab on which the Point or Forecast States are displayed.

- Select the browse button adjacent to the Color field of the state for which you want to use a Custom Color.
A Reference browse window is displayed.
- Locate and select the required Custom Color in the Reference browse window.
- Select the OK button.
The Reference browse window is closed. The Custom Color name is displayed in the Color field. - Save the configuration (see Saving Configuration Changes).
Whenever the Point or Forecast is in the state that is associated with the Custom Color, the entry will appear in the selected color, unless it is overridden by an alarm state or other status (see Example Configuration).
If the state’s Severity is set to ‘Alarm’, the color is also used to indicate that alarm limit in Trends—if no Custom Color is specified, the alarm limit is displayed in red, by default. (This default color is specified using the ClearSCADA Server Configuration Tool (see Points Settings in the ClearSCADA Guide to Server Administration).)
Points also contain properties, such as ‘CurrentStateColour’ that can be used in Mimic Animations to change color according to the point’s state. Such properties will use the Custom Color whenever the point is in the state for which the color is configured. (For information on using Animations, see the ClearSCADA Guide to Mimics.)