You can use the Delete option to remove database items from the ClearSCADA database. This is useful for removing items that you no longer need.
Ensure that you select the correct unwanted item before choosing to delete it.
To delete a database item:
Either:
- Display the Database Bar (see Display an Explorer Bar in the ClearSCADA Guide to ViewX and WebX Clients).
- Select the database item in the Database Bar.
- Press the Delete key.
Or:
- Right-click on the database item in the Database Bar.
A context-sensitive menu is displayed. - Select the Delete option.
(If your system uses Areas of Interest (see Restrict Alarm and Event Access to Specific Areas of Interest), you can use the above procedures to Delete an Area of Interest From the Areas of Interest Bar. To do so, Display the Areas of Interest Bar, rather than the Database Bar. For restrictions regarding deleting an Area of Interest, see Delete an Area of Interest From the Areas of Interest Bar.)
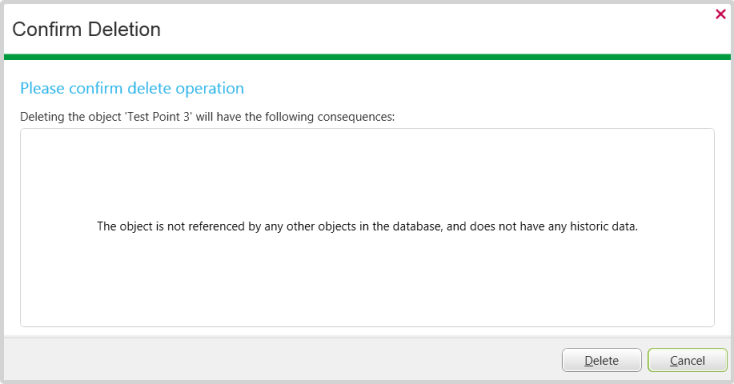
If you opt to delete an item from the database, a confirmation dialog box is displayed:

The dialog box lists the consequences of proceeding with the deletion, including whether the item is referenced by other items or has historic data online (for more information about consequences, see below).
If you opt to delete an item from a Group Template, ClearSCADA will also delete all of the corresponding Instances of that item from the database.
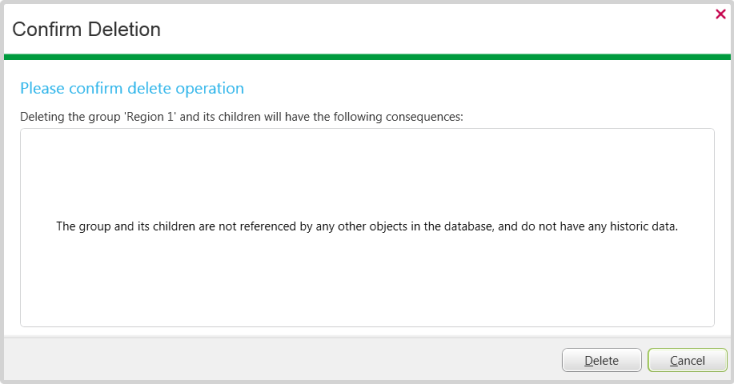
If you opt to delete a Group, Group Template, or Group Instance, the dialog box indicates that ClearSCADA will also delete the items within that Group and its sub-Groups:

Again, the dialog box lists the consequences of proceeding with the deletion, including whether any of the items are referenced by other items or have historic data online (for more information about consequences, see below).
If the item, Group, Group Template, or Group Instance that you are deleting:
- Is referenced by other database items
or:
- Comprises or contains point(s) or accumulator(s) for which historic data exists online
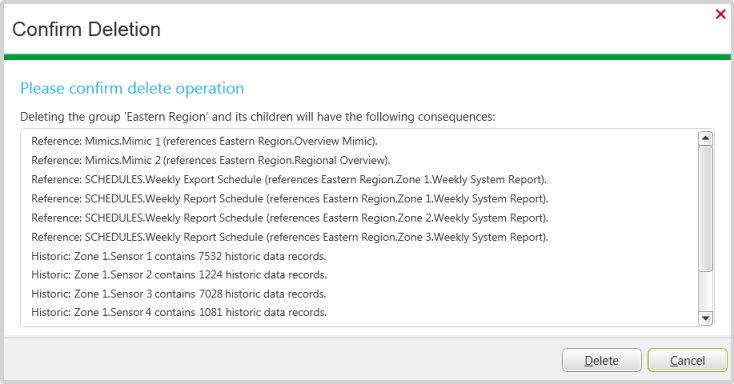
the dialog box lists the consequences of proceeding with the deletion:

The list of consequences shows:
- Existing references to the item(s) that are about to be deleted. If you proceed with the deletion, those links that reference the deleted item(s) will be severed automatically—ensure that you update any necessary links for those items that remain in the database.
- The number of historic records that exist online for any point(s) or accumulator(s) that are about to be deleted. If you proceed with the deletion, ClearSCADA will automatically delete the historic records from the database. If you need to retain a copy of the historic data, ensure that you archive, print, or copy the historic data to a file or another application before proceeding with the deletion.
Use the buttons on the dialog box to confirm whether you want to proceed with the deletion.
If you select the 'Delete' button, ClearSCADA adds an entry to the Messages window, providing feedback about the operation. We recommend that you check the message to determine the success and consequences of the operation. For example, if the deletion has resulted in links being broken in other database items, ClearSCADA will include a message for each broken link—you can right-click on the relevant message and opt to locate the affected database item in an Explorer Bar, or display the document in which the link is broken. For more information, see Messages Window. For more information on database references, see Displaying a Database Item’s References.