You can use the Copy and Paste feature to copy any portion of a DNP3 SCADAPack Profile’s data into Windows’ temporary storage ‘clipboard’. You can then use the clipboard’s contents to:
- Add further rows to a Profile (a Profile is extended with extra rows when pasting, if needed)
- Populate a Profile’s empty cells
- Replace one or more cell’s, column’s, or row’s existing data.
If you are copying data from one Profile to another, for many paste actions to be successful, both DNP3 SCADAPack Profiles have to be of the same type (for instance, both DNP3 SCADAPack Analog Profiles).
To copy Profile data to the clipboard:
- Display the Database Bar (see Display an Explorer Bar in the ClearSCADA Guide to ViewX and WebX Clients).
- Right-click on the Profile that you want to edit.
A context sensitive menu is displayed. - Select the Edit <Name> Profile option, where <Name> refers to the assigned profile name.
The profile editor is displayed in the Document Window. - Perform one of the following:
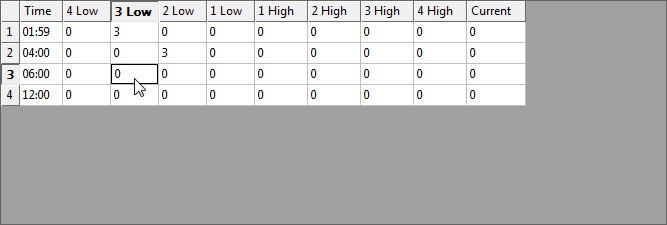
- Select a single cell
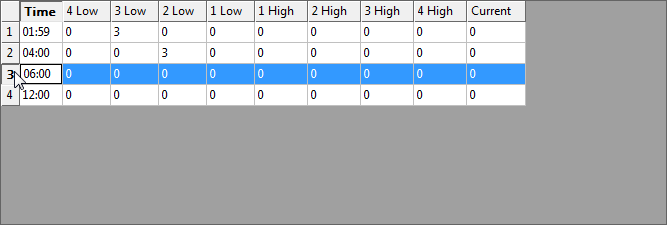
- Select the index number to select a single row
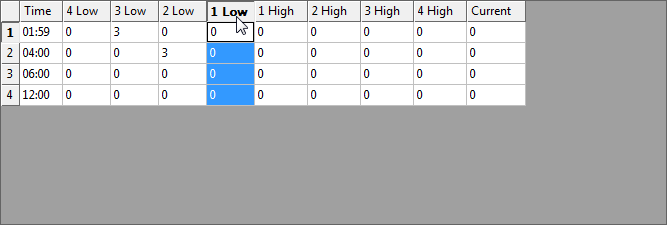
- Select a column heading to select a single column
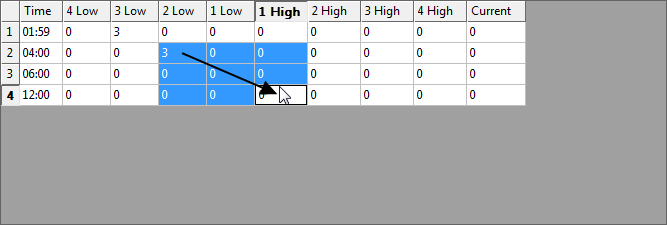
- To select a block of cells, click and drag the cursor from the top left cell to the bottom right cell of the block required.
Or:
- Select any cell at the corner of the block of data, then hold down the SHIFT key and select a cell at the other corner, to select a block of data. This can be done in any direction.
- Perform one of the first three actions, then hold down the CTRL key while selecting further cells, rows and/or columns, to select those specific areas of the Profile.
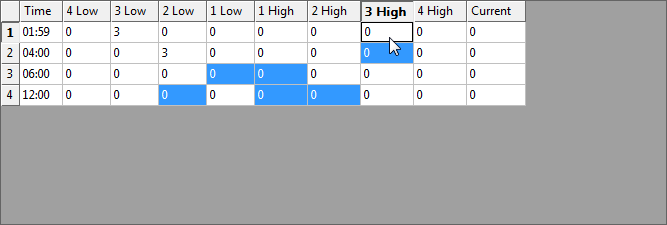
- Select the top left of the Editor window to select all of the Profile’s data.
The selected content is highlighted.
- Select a single cell
- When you have completed making the relevant selection either:
- Select the Edit tab on the ViewX ribbon.
- Select the Copy command from the relevant command group.
The selected content is copied to the clipboard.Or:
- Press the CTRL and C keys simultaneously.
The selected content is copied to the clipboard.
- Select the Edit tab on the ViewX ribbon.
To paste the clipboard’s content into a Profile:
ATTENTION: Be aware that if the copy and paste routine results in a whole column’s data being pasted into a currently disabled column, that column will become enabled. Similarly, if the routine results in the whole of a disabled column’s content being pasted into a currently enabled column, that column will become disabled. (If only part of such a column is replaced, the cells into which values are not being pasted will be set to zero.) For more information on disabled columns, see Disable or Enable the Profile for a Particular Limit or Current Value.
- Display the required DNP3 SCADAPack Profile in Design mode (see Displaying an Editor in the ClearSCADA Guide to Core Configuration).
- Perform one of the following:
- Select the cell into which a single cell’s data is to be pasted
- Select the top-left cell of the block of cells into which data is to be pasted
- Select the heading of the column into which a single column’s data is to be pasted
- Select the heading of the furthest left column of the block of columns into which data is to be pasted
- Select the index number of the row into which a single row’s data is to be pasted
- Select the index row of the uppermost row into which a block of rows is to be pasted
- Select the top-left corner of the Editor window into which a whole Profile’s data is to be pasted.
- Either:
- Select the Edit tab on the ViewX ribbon.
- Select the Paste command from the relevant command group.
Or:
- Press the CTRL and V keys simultaneously.
The clipboard’s content is pasted onto the selected Profile.NOTE: If a row was selected to form the start of a block of rows into which data was pasted, the selected and following rows’ content will be replaced by the clipboard’s content. Further rows will be added if the number of rows available is less than that required by the data that is stored in the clipboard.