You can sort Lists to change the order in which their entries are displayed and grouped to make their contents easier to view and interpret.
To sort a List by one column:
- Display the required List (see Display a List).
- Either:
- Click on a column header once to sort the List by that column in ascending order.
- Click on the same column again, without clicking on any other column, to sort the List by that column in descending order.
Or:
- Right-click on a column header.
A context-sensitive menu is displayed.
- Either:
- Select the Sort Ascending option.
The List is sorted in ascending order by that column.
Or:
- Select the Sort Descending option.
The List is sorted in descending order by that column.
- Select the Sort Ascending option.
To sort a List by multiple columns:
- Display the required List (see Display a List).
- On a ViewX client, either:
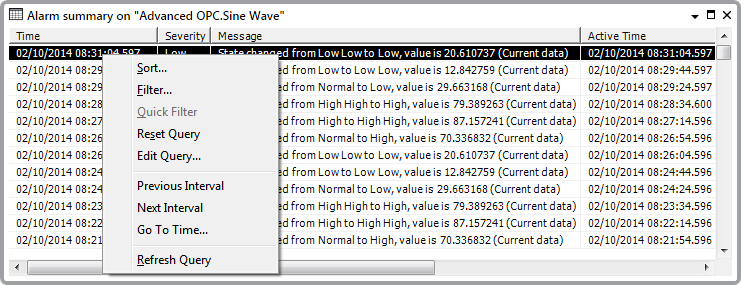
- Right-click on the List.
A context-sensitive menu is displayed.
- Select the Sort option.
Or:
- Press the F8 function key.
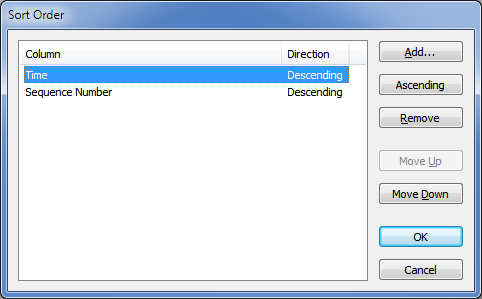
The Sort Order window is displayed.

- Right-click on the List.
- Click on the Add button.
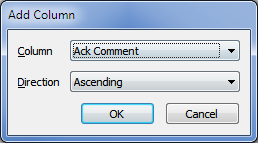
The Add Column window is displayed.
- Use the Column combo box to select the column on which you want to sort the List. (The combo box lists the columns that are on display on the List, other than those that are already being used to sort the List.)
- Use the Direction combo box to specify the direction in which you want to sort that column—either Ascending or Descending.
- Select the OK button.
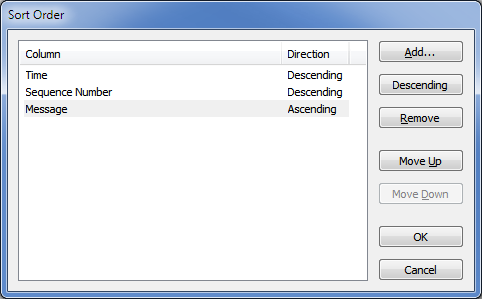
The Add Column window is closed and the new sort criteria is displayed in the Sort Order window.
- If required, select the Move Up or Move Down buttons to change the order in which the columns are sorted.
- To change the sort order of an existing Sort criteria, select the required entry, then select the Descending button—the sort direction will toggle between Descending and Ascending.
- To remove any obsolete Sort criteria, select the obsolete entry, and then select the Remove button.
- Repeat the above steps for any further Sort criteria that are required.
- Select the OK button.
The Add Column window is closed and the List is refreshed to display the entries in the specified Sort order.
NOTE: With Lists other than Alarms Lists, you can also specify the sort order by directly modifying the SQL query’s ORDER BY clause (see Ascertain which SQL Query is Presently used by a List).
Further Information
Reset the Sort Order on an Alarms List or the Alarm Banner in the ClearSCADA Guide to Alarms.
Reset the Filters and Sort Order on a List other than an Alarms List.