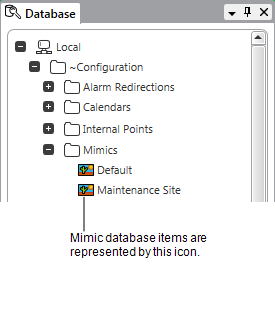
To create a new Mimic that is stored in the database, you need to create a new Mimic database item. You can only create a new Mimic database item if your User account has the Configure permission for the Group that is to contain the Mimic.
To create a new Mimic database item:
- Display the Database Bar (see Display an Explorer Bar in the ClearSCADA Guide to ViewX and WebX Clients).
- In the Database Bar, right-click on the Group, Group Template, or system that is to contain the new Mimic.
A context sensitive menu is displayed. - Select the Create New option.
A further menu is displayed. - Select the Mimic option.
A new Mimic database item is added to the Database Bar. It is selected automatically, ready for you to define its name. - Type a suitable name then press the Enter key to confirm (or select another part of the ViewX interface).

When you have created a new Mimic database item, you can configure the Mimic. To configure the Mimic, you need to display it in Design mode (see Displaying a Mimic). Once the Mimic is displayed in Design mode, you can add objects to it (see Adding Objects to a Mimic) and edit them.
We recommend that you refer to Designing a Mimic before starting your Mimic configuration.
You can also define the Mimic properties (see Configuring the Mimic Properties)