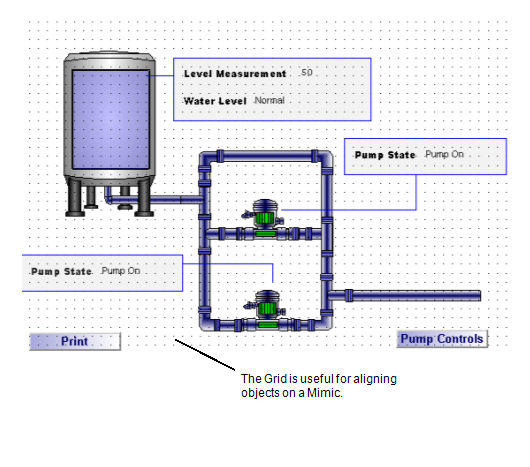
You can use the Mimic Properties window to define whether a Mimic has its Grid enabled or disabled. When the Grid feature is enabled, all objects on a Mimic are aligned with a grid line automatically. This alignment is referred to as an object being 'snapped to grid'.

Depending on the method that you use to display the Mimic Properties window, the settings you define will be applied to:
- New Mimics on your client PC (if you access the Mimic Properties window via the Options window—see Defining the Default Mimic Properties for New Mimics).
- A specific Mimic (if you access the Mimic Properties window via the Properties option or command on a Mimic—see Defining the Default Mimic Properties for a Specific Mimic).
When you have displayed the Mimic Properties window using the appropriate method for your needs, define the Grid settings as follows:
- Enabled—Use to enable or disable the Grid feature for the selected Mimic/new Mimics on your client PC. Select the Enabled check box to set the Grid to be on display (though not necessarily visible, see below); clear the check box to disable the Grid.
- Visible—Use to define whether the grid can be seen. If you select the Visible check box, the grid dots will be visible to users; if you clear the check box, the grid dots will not be shown but the grid will still be in place and objects will still align to it.
- Width—Use to increase or decrease the amount of space between each column of grid dots.
- Height—Use to increase or decrease the amount of space between each row of grid dots.
NOTE: You can also toggle the grid on and off by using the Grid command in the Arrange command group on the Graphics Tab.