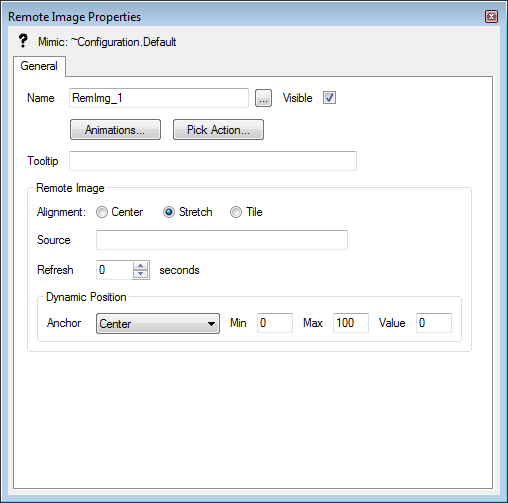
When you have added a remote image to a Mimic, you can access its Remote Image Properties window to edit its settings. To display the window, double-click on the object on the Mimic. (For other ways of displaying the window, see Display the Properties Window for an Object on a Mimic.)

The Remote Image Properties window has a General tab. The General tab contains Name, Visible, Animations, Pick Action, ToolTip, and Dynamic Position settings that work in the same way as on other General tabs (see General Tab). The General tab on the Remote Image Properties window also contains these settings:
- Alignment—The Alignment settings of Center, Stretch, and Tile work in the same way as the alignment settings for embedded images (see Editing an Embedded Image), except that they apply to the remote image.
- Source—Use to define the location of the image. This can be the complete path name of an image file that is available on your network or the address of an image file on the Internet (or your Intranet). For example, to insert the Earth image from the www.pdimages.com website, you would enter:
http://www.pdimages.com/BX0097.JPG
- Refresh—Use to set your client PC to request the image at a defined interval. The Refresh numbers represent seconds, so if you set the Refresh spin-box to 5, your client PC will request the image every 5 seconds. Although the image on the Mimic will update at the defined Refresh rate, the picture may change less frequently as the refresh time of the web server controls how often the image changes.