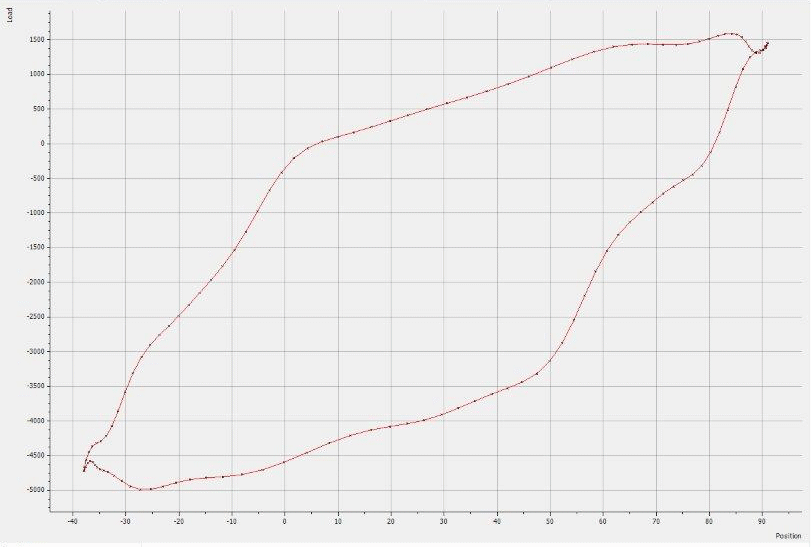
You can embed Dynagraphs on your Mimics. Embedded Dynagraphs update in the same way as Dynagraphs that are stored as database items and provide similar advantages to embedded Mimics:
- They enable you to display Dynagraph data on a Mimic, which is especially useful on 'overview' Mimics.
- You can embed multiple Dynagraphs on a single Mimic. This is useful for comparing Dynagraph data while also displaying other dynamic data such as states and values.

To embed a Dynagraph on a Mimic:
- Display the Mimic that is to contain the embedded Dynagraph. You need to display the Mimic in Design mode (see Displaying a Mimic).
-
Select Dynagraph in the Drawing command group on the Graphics Tab.

The Select Dynagraph window is displayed.
- Navigate to the required Dynagraph in the window, and then press the OK button.
- Draw the outline of the embedded Dynagraph by pressing the left-hand mouse button, and moving the cursor while keeping the left-hand mouse button pressed. The rectangle that is drawn is the space that will be occupied by the embedded Dynagraph .
Alternatively:
- Display a Mimic in Design mode (see Displaying a Mimic).
- Display the Database Bar (see Display an Explorer Bar in the ClearSCADA Guide to ViewX and WebX Clients).
- In the Database Bar, select the Dynagraph that you want to embed and drag it onto the Mimic.
A context-sensitive menu is displayed. - Select the Embedded Dynagraph option to embed the Dynagraph on the Mimic.
You can resize the embedded Dynagraph by selecting it and dragging its sides. Similarly, you can reposition it by selecting it and dragging it to a new position.
You can edit the embedded Dynagraph by double-clicking on it (see Editing an Embedded X-Y-Z Plot). You can also access editing features by right-clicking on the embedded Dynagraph to display a context sensitive menu (see Mimic Editing Features).