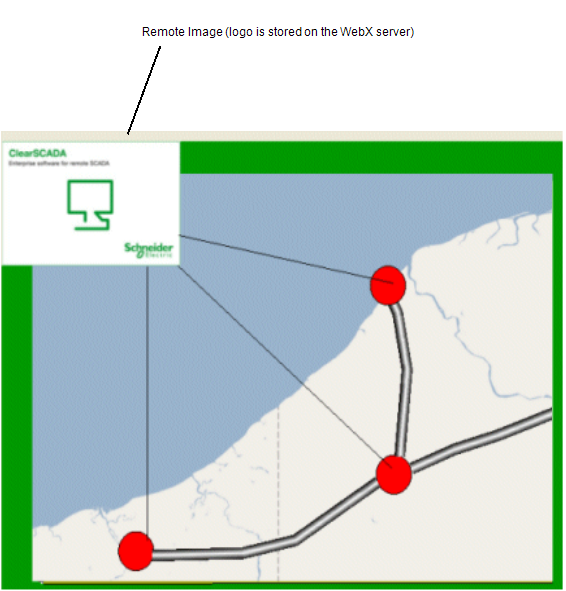
Mimics can contain remote images—images that are stored on a web server. By using the remote image feature, you can add images from web cams and similar devices by storing the images on a web server and then referencing the images on your Mimic by using http.
Remote Images are useful for:
- Web cams—Mimics can contain web cam images that can be updated at a specified rate. This means that you can present ' live' images such as security images from a webcam on a Mimic.
- Managing pictures that are shown on web interfaces and Mimics at the same time. For example, if a company logo is displayed on a web page and on a Mimic, the logo can be stored on the web server. This means that if the logo is changed on the web server, it is automatically changed on the Mimic and on the web page—the pictures on the web server are not stored as part of the Mimic.
The Remote Image feature supports:
- Bitmap (.bmp)
- JPEG (.jpg or .jpeg)
- Portable Network Graphics (.png) images.
If you have updating images that need to be added to a Mimic, for example, images from a web cam, you have to host the images on a web server before you can add them using the Remote Images feature.
NOTE: ClearSCADA uses the proxy server settings that are defined in Internet Explorer.
To add a remote image to a Mimic:
- Display the Mimic that is to contain the remote image. You need to display the Mimic in Design mode (see Displaying a Mimic).
- Select the options menu for the Image command in the Drawing group on theGraphics Tab.

Select Remote Image from the menu that appears.
- Draw the outline of the embedded image by pressing the left-hand mouse button, and moving the cursor while keeping the left-hand mouse button pressed. The rectangle that is drawn is the space that will be occupied by the embedded image.
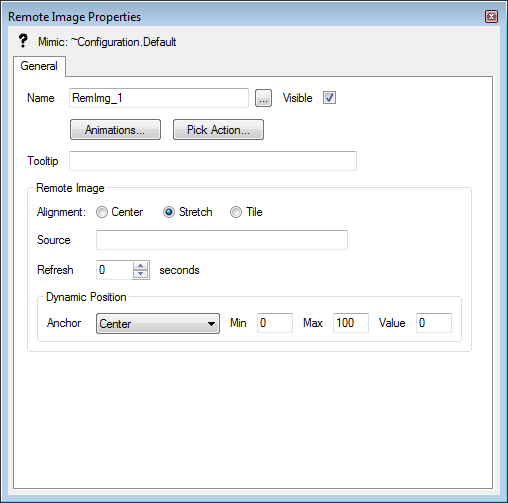
- Release the left-hand mouse button to display the Remote Image Properties window.

- In the Source field, enter the address of the remote image file. For this example, we are going to use the WebX logo that is stored on your Web server (but you could use any image that is available on the Internet, your network and so on):
http://localhost:80/file/images/logo.png
(Replace
localhost:80with the address of your Web server if necessary).For information on the other Remote Image Properties window settings, see Editing an Embedded Remote Image.
- Close the Remote Image Properties window.
The remote image is displayed on the Mimic. If the remote image is not shown, re-display the Remote Image Properties window by double-clicking on the embedded image box and check that the Source entry is correct. If the entry is correct, you may need to check the Internet connections on the client PC.
When you have embedded the image, you can re-position it by selecting it and dragging it to a new location.
You can define the animations, pick actions and so on for the image by double-clicking on it to display its Properties window. For information on the image's property settings see Editing an Embedded Remote Image.