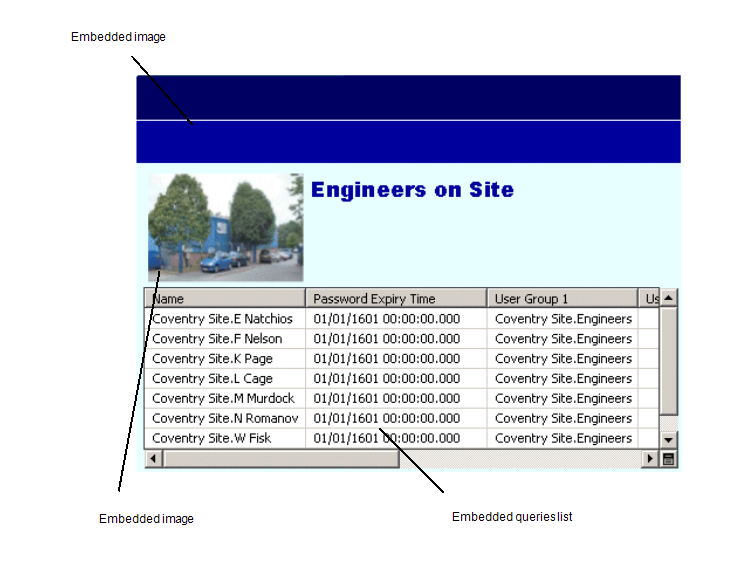
You can add images to your Mimics. This is useful for including company logos and other graphic files to your Mimic displays. As with other Mimic objects, you can resize and position embedded images and also edit their properties so that they are associated with pick action menus, animations and so on.

ClearSCADA supports the following image file formats:
- BMP
- JPEG
- EMF
- WMF
- PNG
- ICO
To embed an image on a Mimic:
- Display the Mimic that is to contain the embedded image. You need to display the Mimic in Design mode (see Displaying a Mimic).
- Select Image in the Drawing command group on the Graphics Tab.

A browse window is displayed.
- Use the browse window to locate the image file that you want to embed on the Mimic.
- Select the image file, then select the OK button to confirm.
The browse window is closed and the cursor changes shape to indicate that the image tool is selected. - Draw the outline of the embedded image by pressing the left-hand mouse button, and moving the cursor while keeping the left-hand mouse button pressed. The rectangle that is drawn is the space that will be occupied by the embedded image.
- Release the left-hand mouse button to embed the image.
When you have embedded the image, you can re-position it by selecting it and dragging it to a new location.
You can define the animations, pick actions and so on for the image by double-clicking on it to display its Properties window. For information on the image's property settings see Editing an Embedded Image.