ATTENTION: This topic relates to the deprecated Original WebX client that is supported by this and previous versions of ClearSCADA. For information about the WebX client that is supported by ClearSCADA 2015 R1 onwards, click here.
The home page for the 'EngExample' user is a Mimic that has been configured to be used as a user-friendly interface. It has two text boxes which are animated to act as hyperlinks—when you select them, they take you to a different 'page'. The text boxes show 'Presentation' and 'Projects' and look like buttons on the WebX display.
As we want you to experience the various navigation tools and see the different types of display that can be shown, we are going to ask you to select the Projects button:
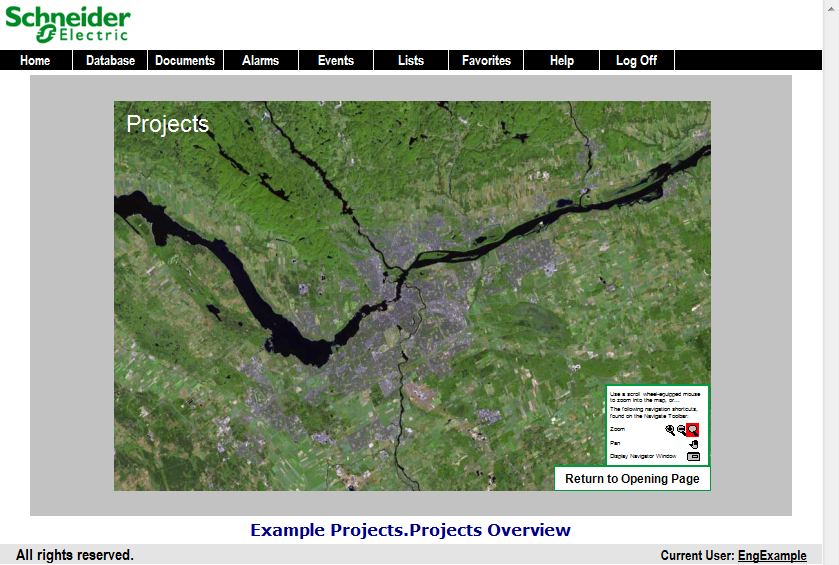
- On the WebX interface, select the Projects button to display the Projects Overview page. This page shows a map of a geographical area. At its default size, the map shows quite a large area with little detail.

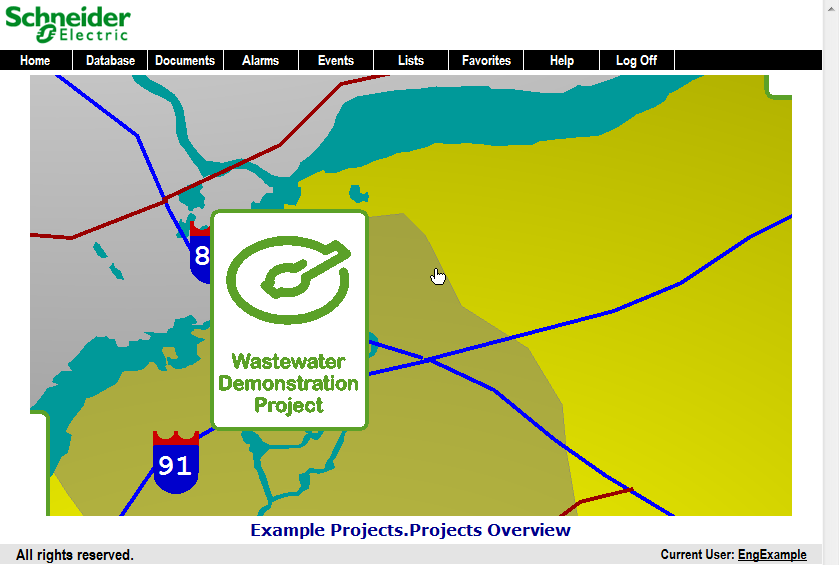
- If you have a mouse wheel, roll the wheel forward to zoom in on the map. As you increase the level of magnification, more detail is revealed, including road networks and embedded Mimics that show the locations of different sites.

If you are using a mouse that has no wheel, you can change the magnification level by using the pop-up magnification menu at the bottom-right of the browser window.

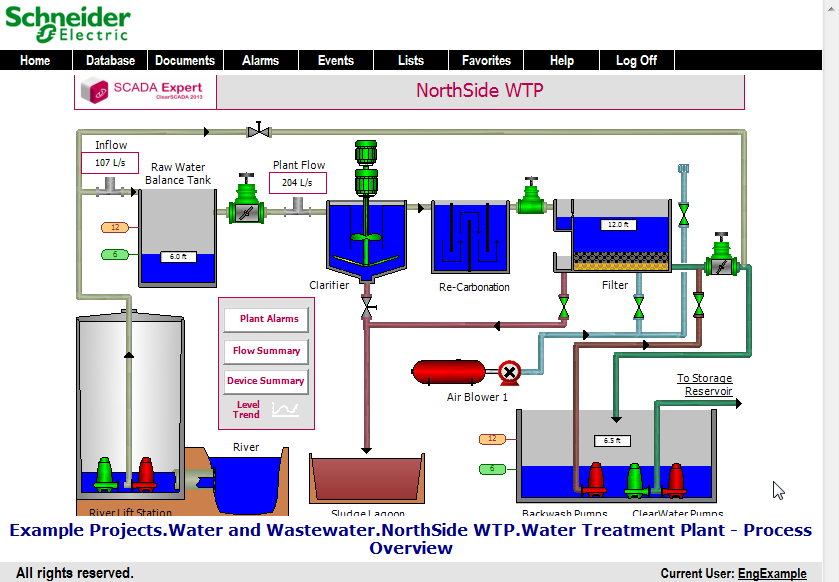
- Select the 'Water Treatment Overview' embedded Mimic. This embedded Mimic has been configured to act as a hyperlink to another display—the Process Overview Mimic.

- On the 'Process Overview' Mimic, select the 'Air Blower 1' item to display a context sensitive menu. As in ViewX, Mimic objects can provide access to context sensitive menus that relate to the database item that is used to animate the Mimic object.
- Select Device Menu>Hand Control to display the Hand Control window.
- Set the Value to Running, then select the OK button to confirm. You will see that the 'Air Blower' object on the Mimic changes color to indicate that it is running. You have now issued a control via the WebX interface.
- Perform another Hand Control to the 'Air Blower 1' object, only this time set its Value back to Stopped.
- Select the 'Flow Summary' button on the Mimic. This displays the Flow Summary page.
As the Flow Summary page does not contain any hyperlinks, you cannot use it to access other displays. But you can return to the previous page you viewed by selecting the web browser’s Back button. Each time you press the Back button, you return to the previous page you viewed in sequence. Similarly, if you select the Forward button, you display the next page you viewed in sequence.
Now that you are familiar with some of WebX’s navigation tools, you can proceed to Access Database Items via WebX.
Further Information
WebX Navigation: see Use the WebX Interface in the ClearSCADA Guide to ViewX and WebX Clients.