ClearSCADA includes a set of custom counters that you can install in the Windows Performance Monitor to provide information about the performance of your ClearSCADA database.
To install the ClearSCADA counters, use the counter registration tool provided within Windows as follows:
- Open a Command Prompt window in Microsoft Windows®.
- Use the
cdcommand to change the directory to that in which the ClearSCADA Performance Monitor Counter file is installed. The Tool is installed in the same directory as other ClearSCADA installation files. The default location of these files varies depending on the Windows operating system (see File Locations (Default) in the ClearSCADA Installation Guide).Example:
If ClearSCADA is installed at the default location on a 64-bit machine that is running Windows 7, you would enter:
cd c:\program files\Schneider Electric\ClearSCADA

If ClearSCADA is installed at the default location on a 32-bit machine that is running Windows 7, you would enter:
cd c:\program files (x86)\Schneider Electric\ClearSCADA
NOTE: 32-bit and 64 bit versions require separate registration even though the manifest file has the same name in both directories.
- Press the Enter key.
- Use the
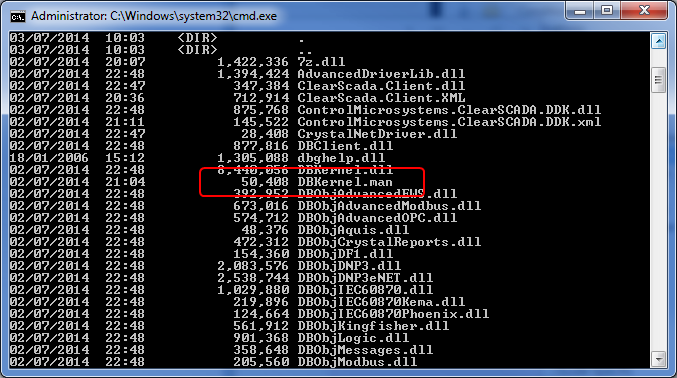
dircommand to check that the ClearSCADAcounter file (DBKernal.man) is present.
- Register the performance counters by entering the following at the command prompt:
lodctr /M:DBKernel.man
ATTENTION: Registering performance counters should not adversely affect the performance of the server, however third-party tools such as PerfMon.exe that access and plot the data could degrade system performance if excessive numbers of plots of counters are enabled.
When the counters have been successfully registered you can use the Using Windows Performance Monitoring Counters to analyze your system.
Further Information
Using Windows Performance Monitoring Counters
ClearSCADA Performance Monitor Counters